1. In advance of this project, take photos of the students from the shoulders up. Encourage poses that show more personality than the traditional “driver’s license” type of portrait. Photos with the head turned, eyes looking down, chin in hand, or making a face make a much better portrait. Make a photocopy of each head shot for students to use for tracing.
2. Have each student brainstorm their own list of words that describe their identity, personality, skills or talents they may have.
3. Lead a discussion on portraits. Discussion questions could include:
• What types of portraits are there?
• Why do artists create portraits?
• What information does a portrait give the viewer? How can a portrait show personality?
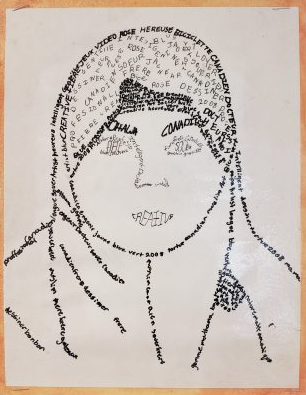
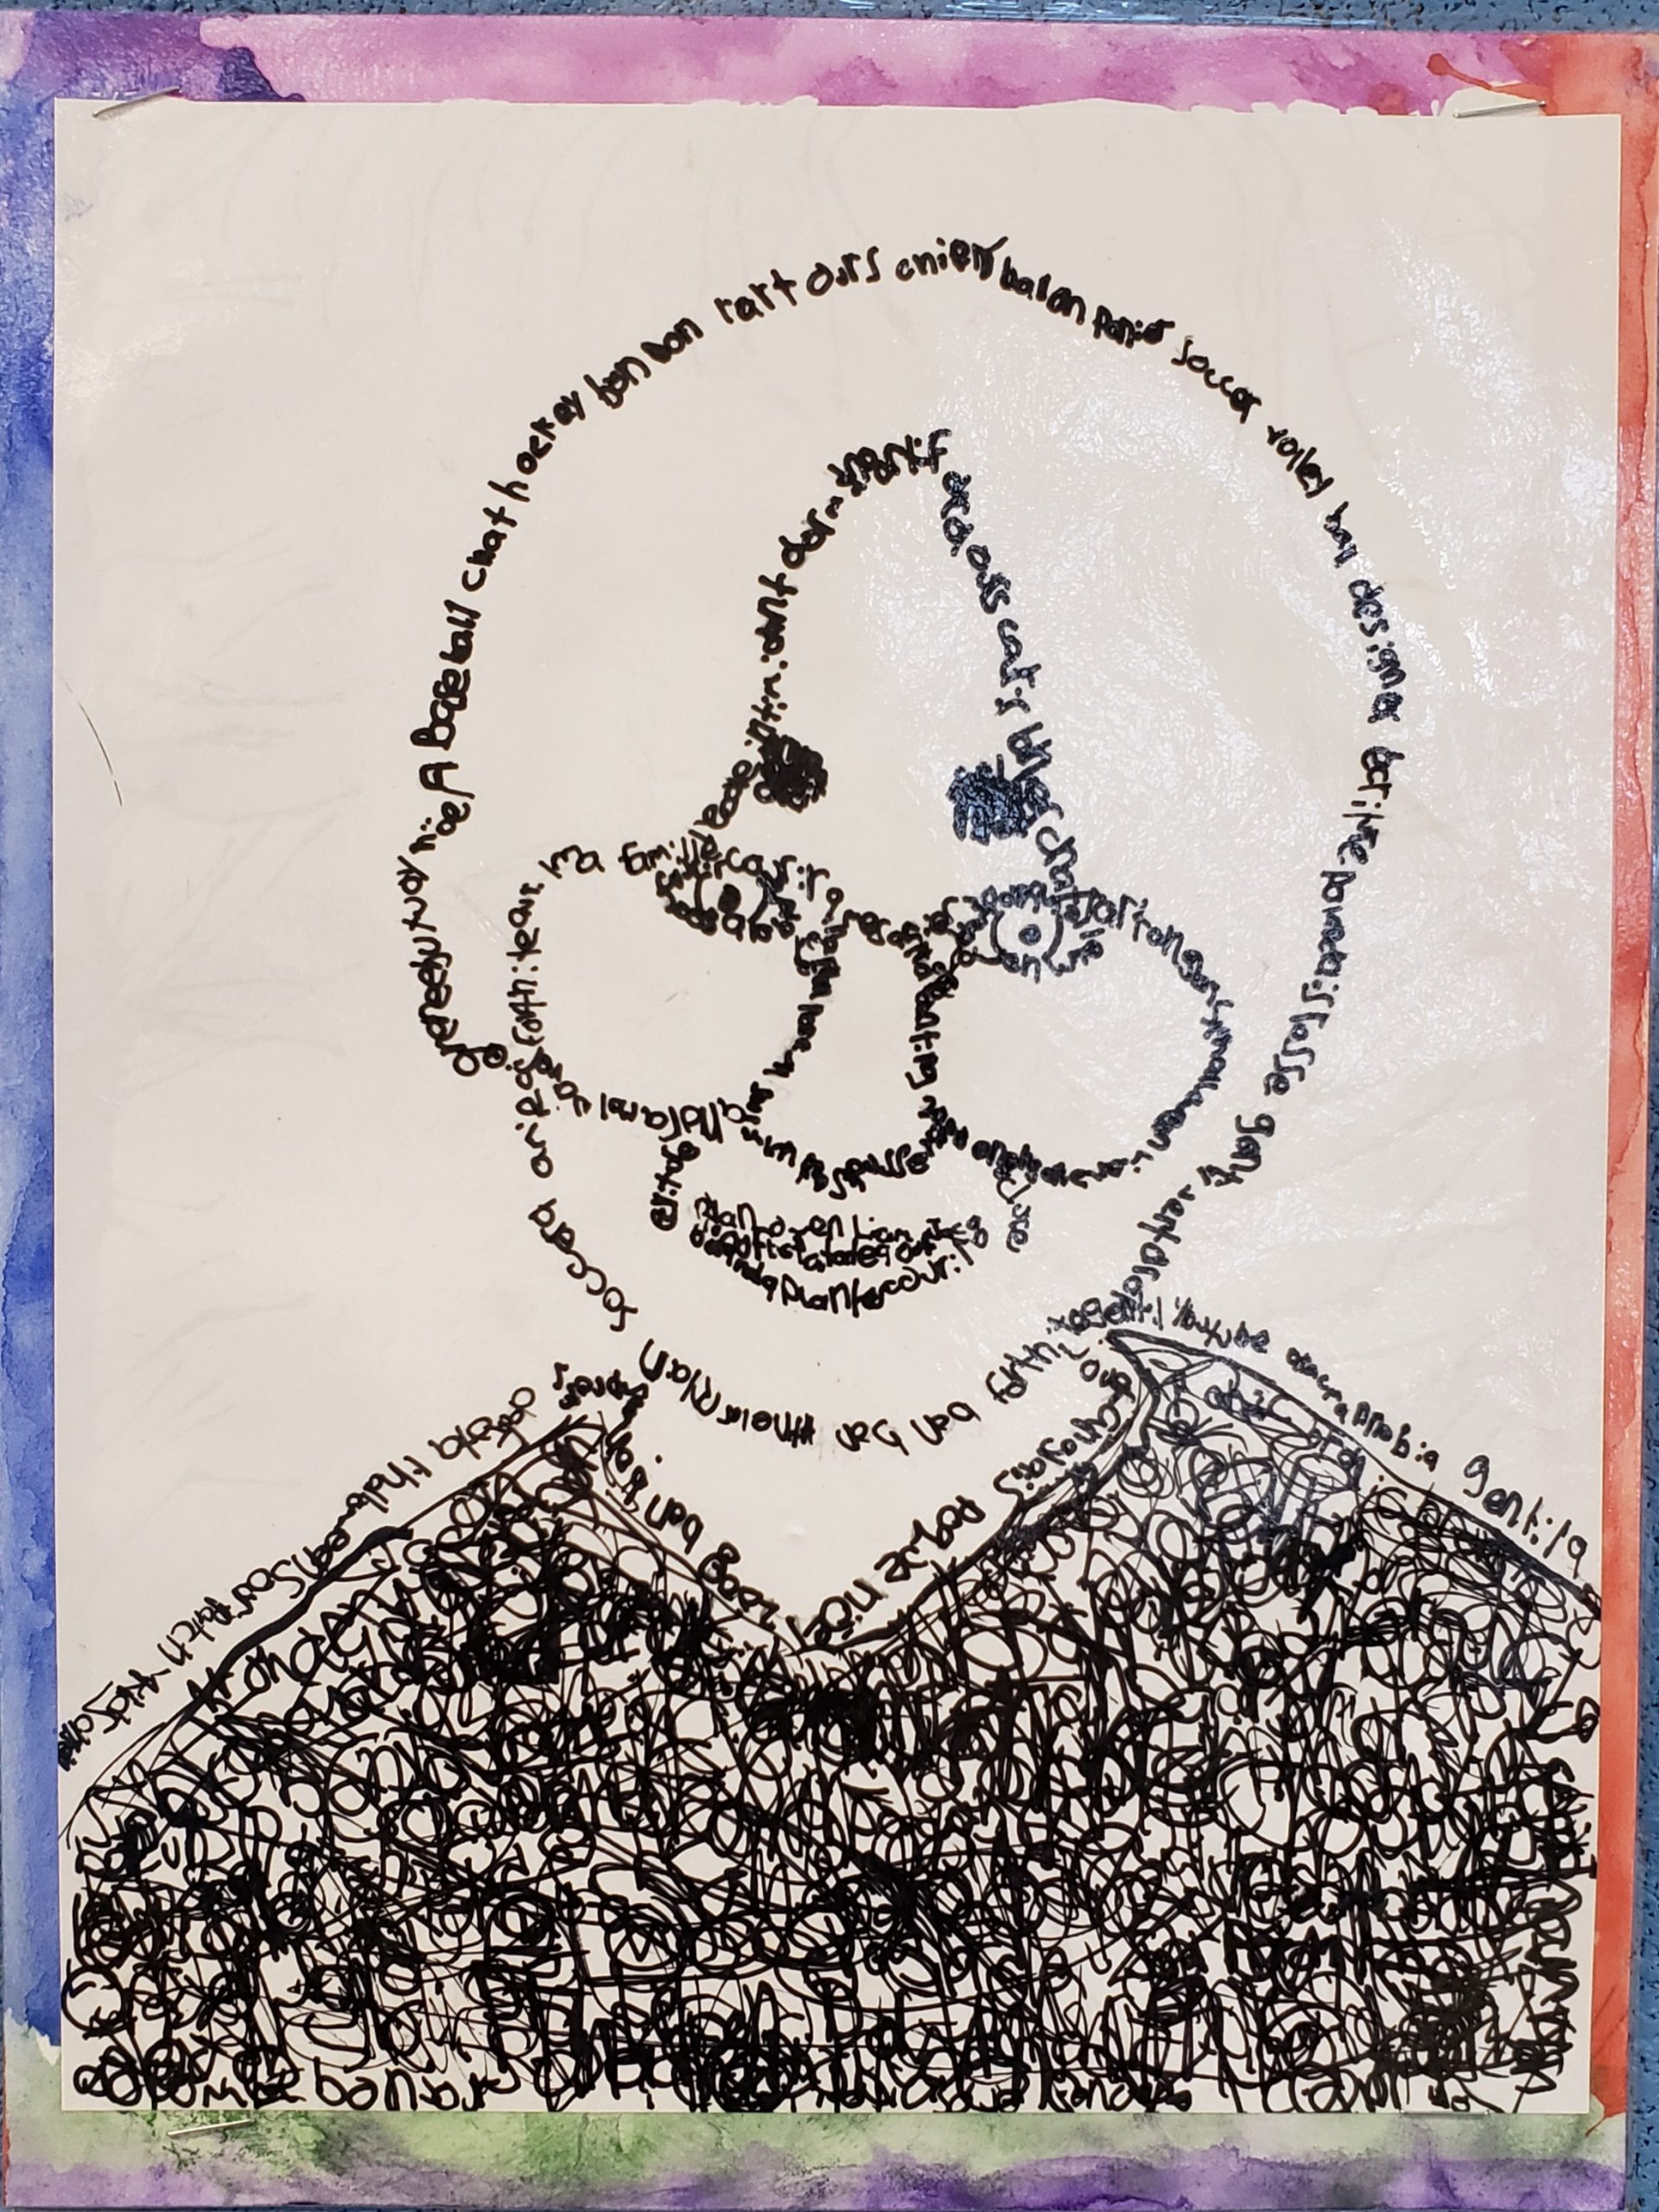
4. Explain that students will create a self portrait using micrography to give a more detailed portrayal of themselves.
5. Artists work independently on their own digital images to “blow out” the contrast in their photos. Care should be given to leave important elements without sacrificing contrast. Omit backgrounds if possible. Final version should contain only black and white (no grays) and contain enough information to still look like the artist.
6. Place a white piece of paper over the photocopied head shot. Trace lightly around the dark shapes with a pencil.
7. Artists should choose words from their list to describe themselves and begin filling in the dark values with these words using permanent ink.
8. When artwork is complete, display a selection of portraits and lead a critique. Ask students how these portraits are more like our true selves than the traditional portrait (students should come to the conclusion that from a distance, we recognize the person, but to get to know more about them, we must get closer).
Evaluation
A. Did the students combine words and image to accurately portray themselves?
B. Were the students able to fill in the dark values evenly?
C. Did the students use a consistent letter size?
D. Were the students able to recognize which areas to darken in?